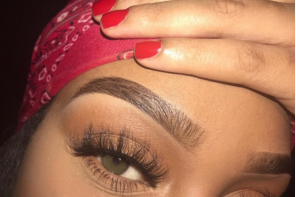
Getting into makeup can be really hard, especially if you know nothing about it. I was a MESS when I first started. The more you practice, the better you’ll get. It is important to have the basics, which doesn’t involve you spending a bunch of money (AKA drug store products). I don’t recommend starting off with eyeshadow, eyeliner, and lashes- those are a totally different story and you’ll want to get the basics down before you venture off and begin adding those products to your routine. Below are the 7 steps to “glow up” and go from Drab to Fab.
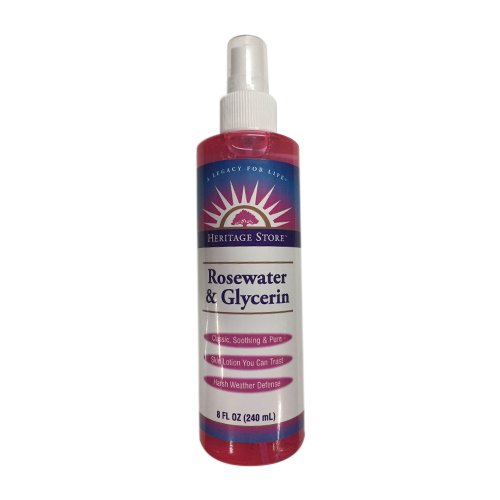
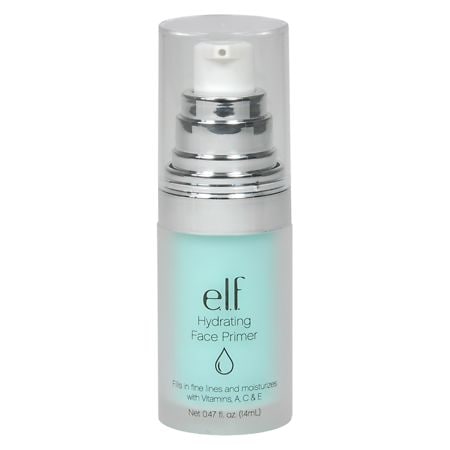
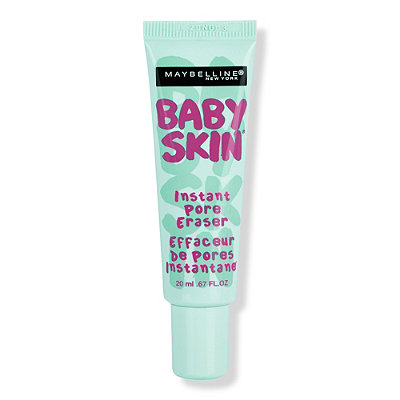
1. Primer – This is going to help your face last all day. DO NOT SKIP IT! It puts a barrier between your skin and the makeup. I really like rose water because its good for your skin. I also like the Maybelline Baby Skin Instant Pore Eraser and the Elf Hydrating Face Primer.
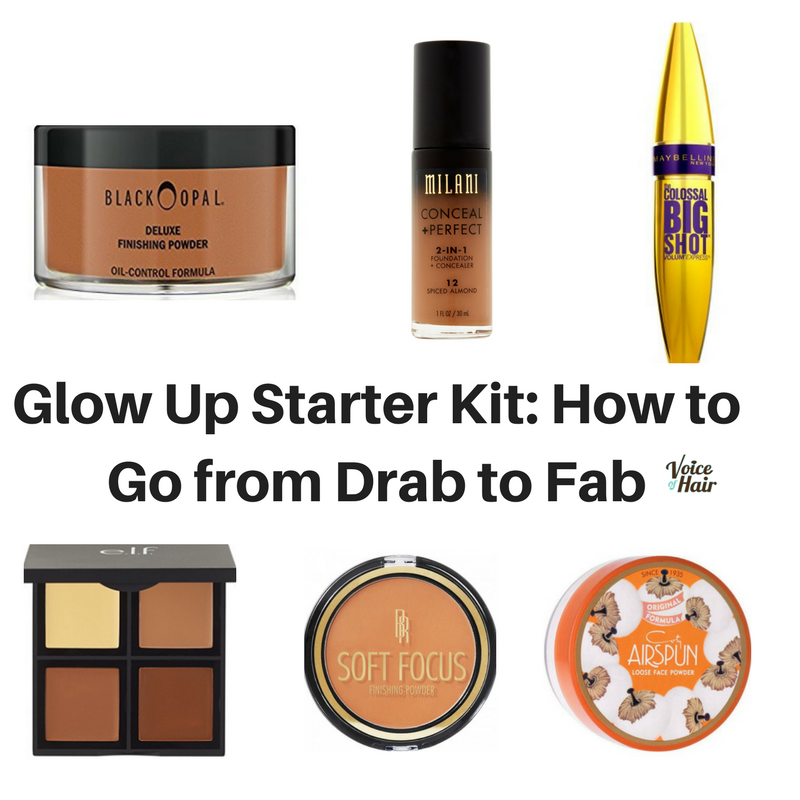
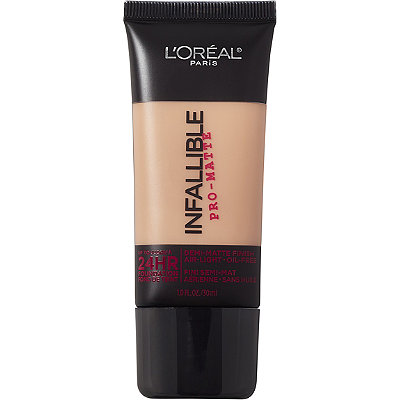
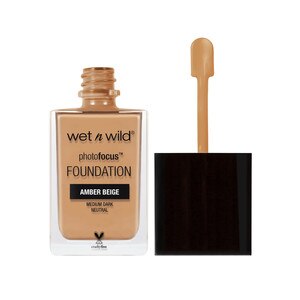
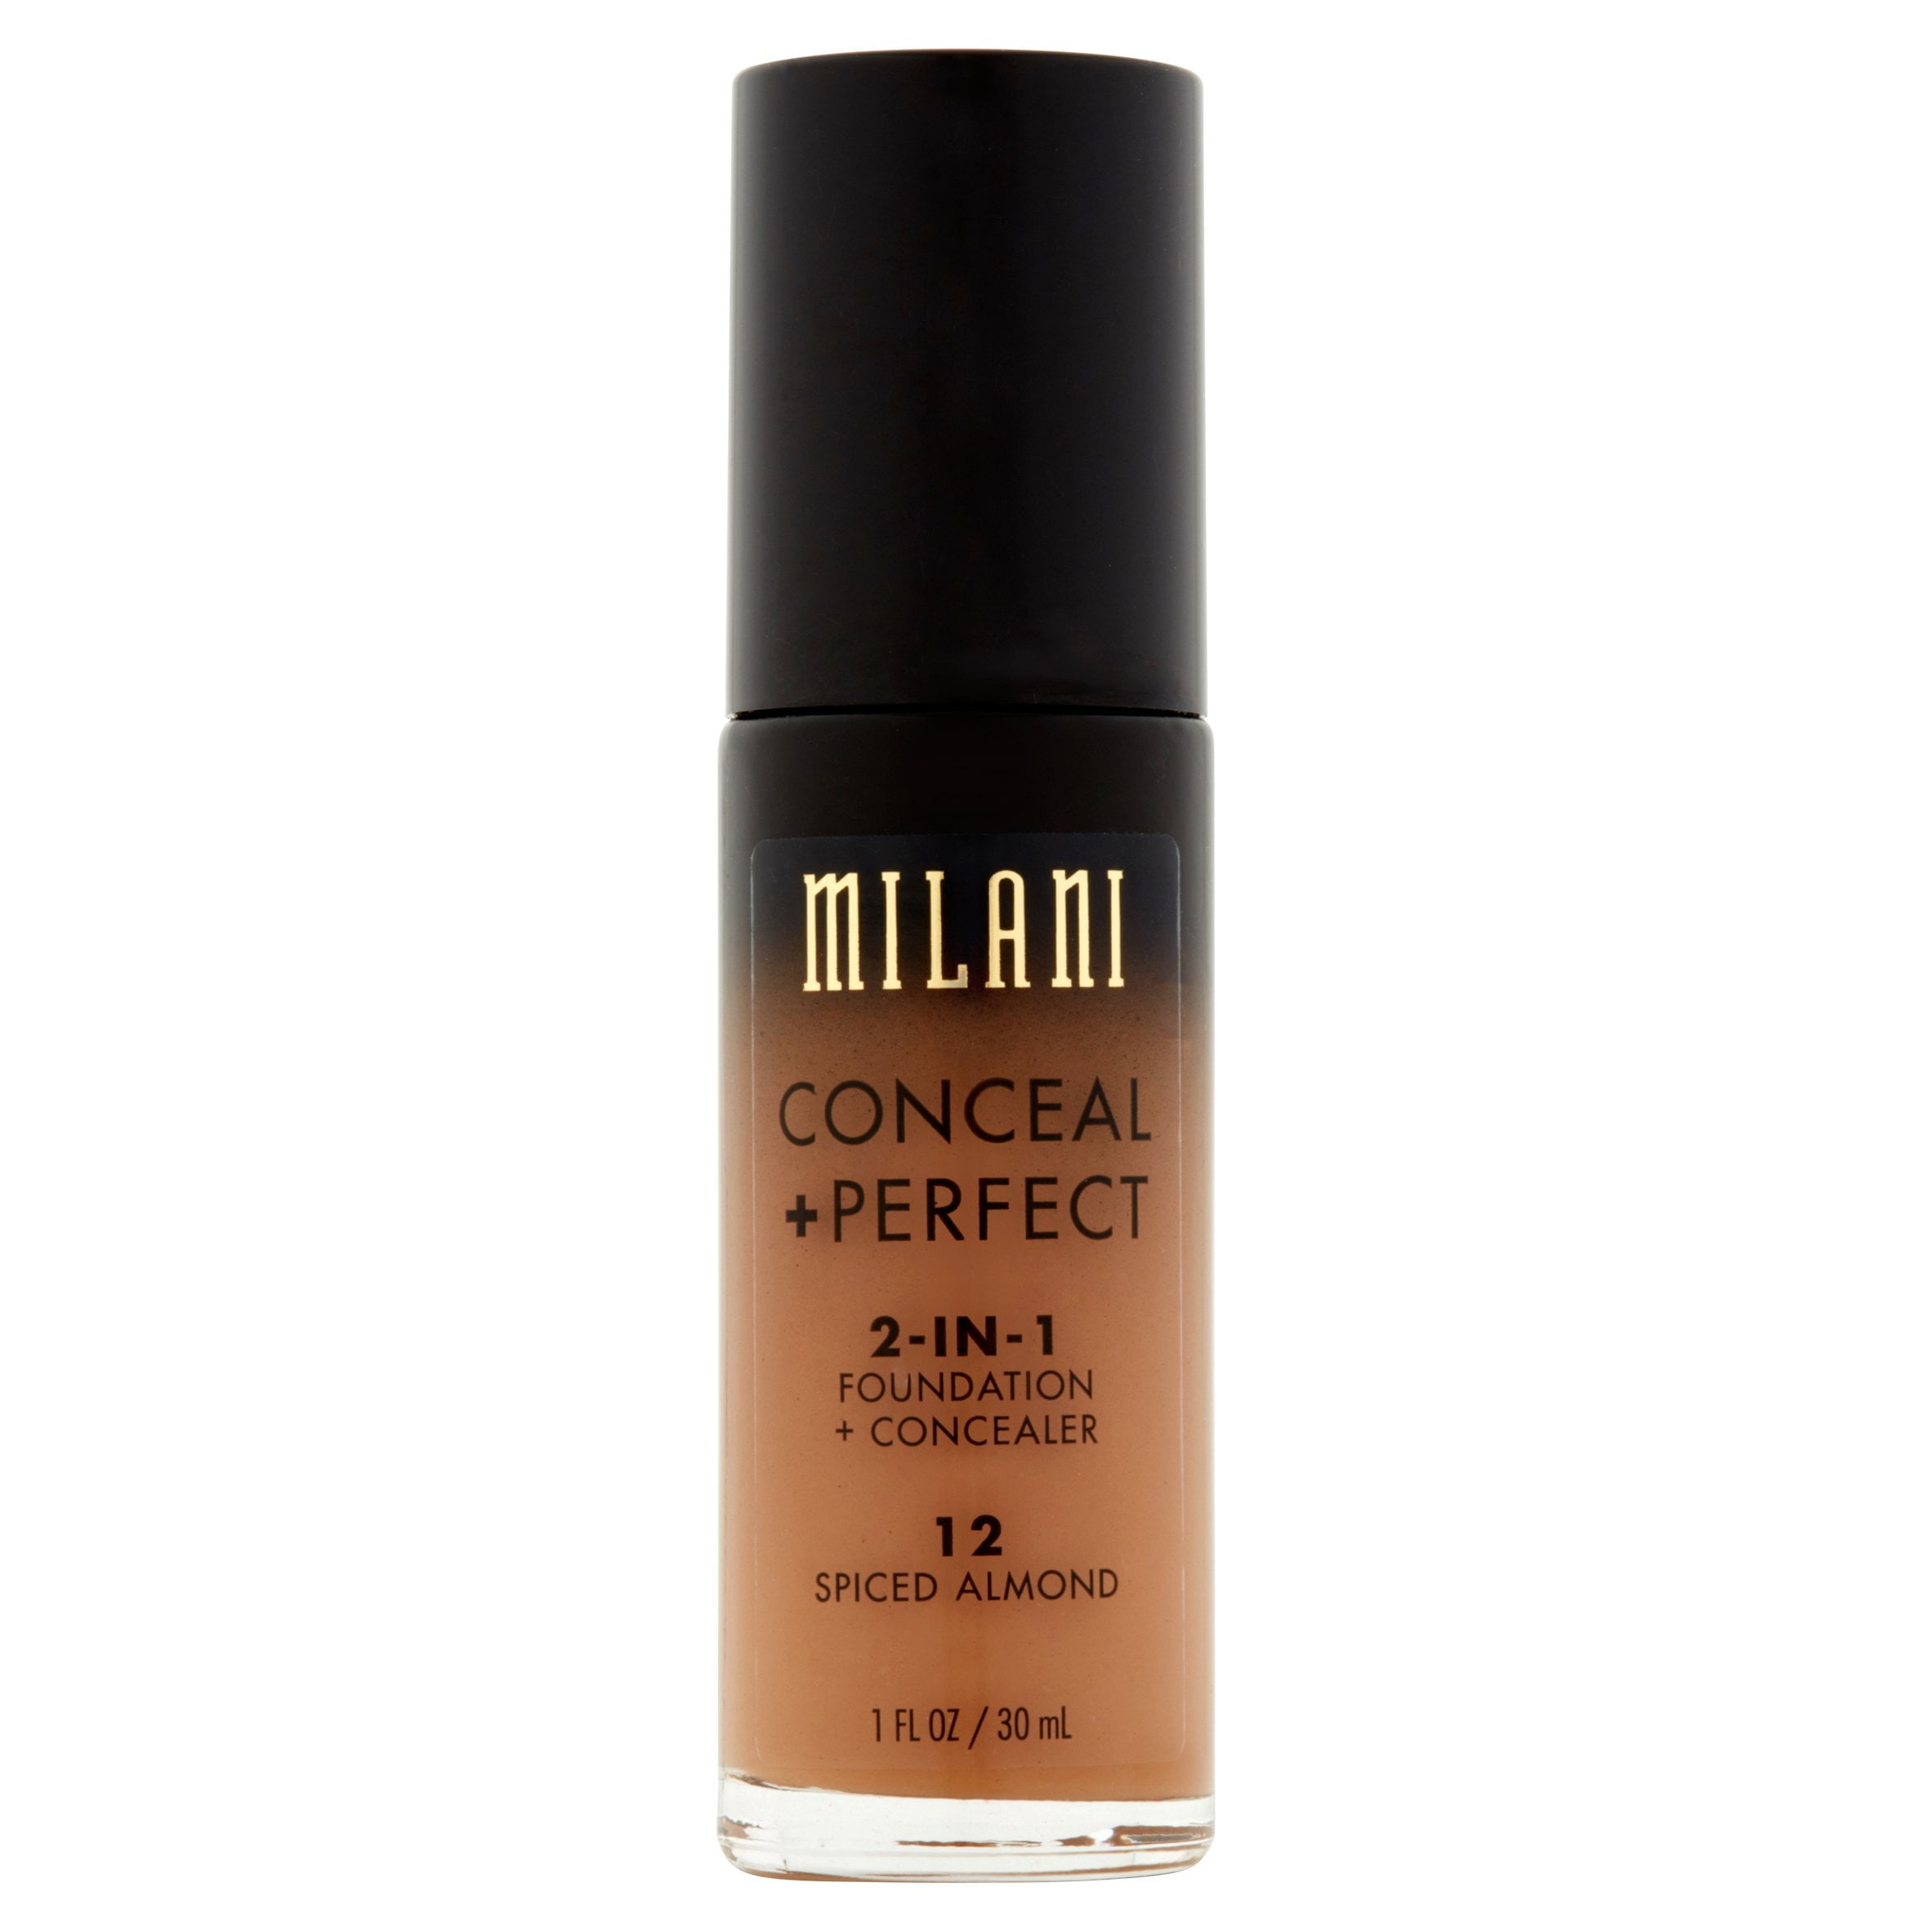
2. Foundation- It is important to find the right shade of foundation. You don’t want to look like ghost, do you? Always match a foundation with your face and not you hand (because they tend to be two different shades). You also need to know what kind of skin you have (oily, dry, or combination). I really like the L’Oreal Paris Inflalllible Pro-matte foundation,the Wet and Wild Photofocus foundation, the Black Opal True Color Pore Perfecting liquid foundation, and the Milani 2 in 1 Foundation + Concealer. Obviously you don’t need them all, I’m just giving you options!

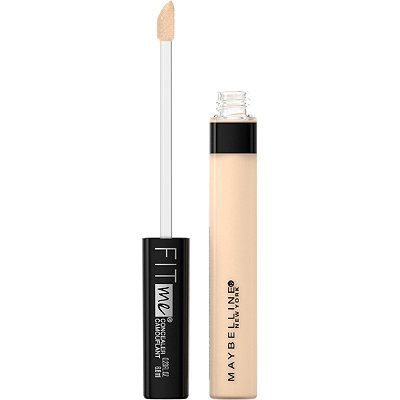
3. Concealer- Now as a beginner, you might not want to get into highlighting. You need to learn your face shape and what areas you want to draw attention to. You need concealer to hide fine lines and bags and any other acne scars. The Maybelline Fit Me Concealer is the best drug store concealer hands down and it only costs $7.99.
4. Contour Color- If you want to get into contouring, you’ll need a powder to do it with. You can also cream contour (for a more defined look) and then set it with a powder, but let’s take it easy at first. I suggest going 2 shades darker than your regular face powder. I normally use the Black Radiance Soft Focus Face Powder to contour, but the Elf Contour Palette is nice too. 

5. Setting Powder – Next you will need to set your under eye area and and any other areas you highlighted with a power. Airspun Setting Power is the best drug store setting powder and is the cheapest. I don’t recommend any of the other ones.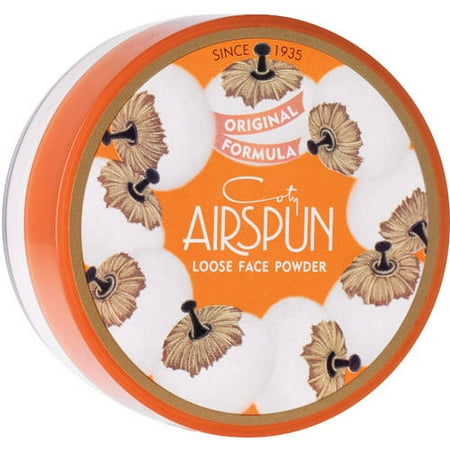
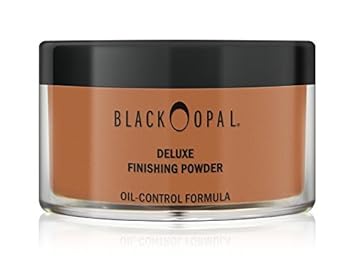
6. Face Powder- Now you will need a powder to set your entire face, which also plays a factor in your makeup lasting all day. I suggest trying the Black Opal Deluxe Setting Powder or the Covergirl Clean Pressed Powder which are both bomb!

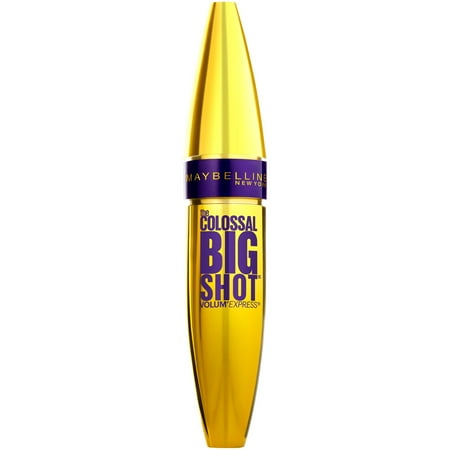
7. Mascara – You’ll need this to give your lashes some volume and length. I really been love the Colossal Big Shot Mascara by Maybelline, but I must say it’s really hard to get off, however it’s worth it!
So these are my tips and my go to products when I’m on a budget. Be sure to check out my YouTube Channel and follow me on Instagram for other hair and makeup tutorials!
Latest posts by Brandelyn Green (see all)
- Everything You Need to Know About Moisturizing Oils Vs. Sealing Oils - February 15, 2024
- 4 Simple Tips To Slay Your Edges that You’ll Love - February 15, 2024
- 5 Benefits of Peppermint Oil That Will Make Your Hair Feel Like New - February 12, 2024

Facebook Comments